How to Utilize Luxture
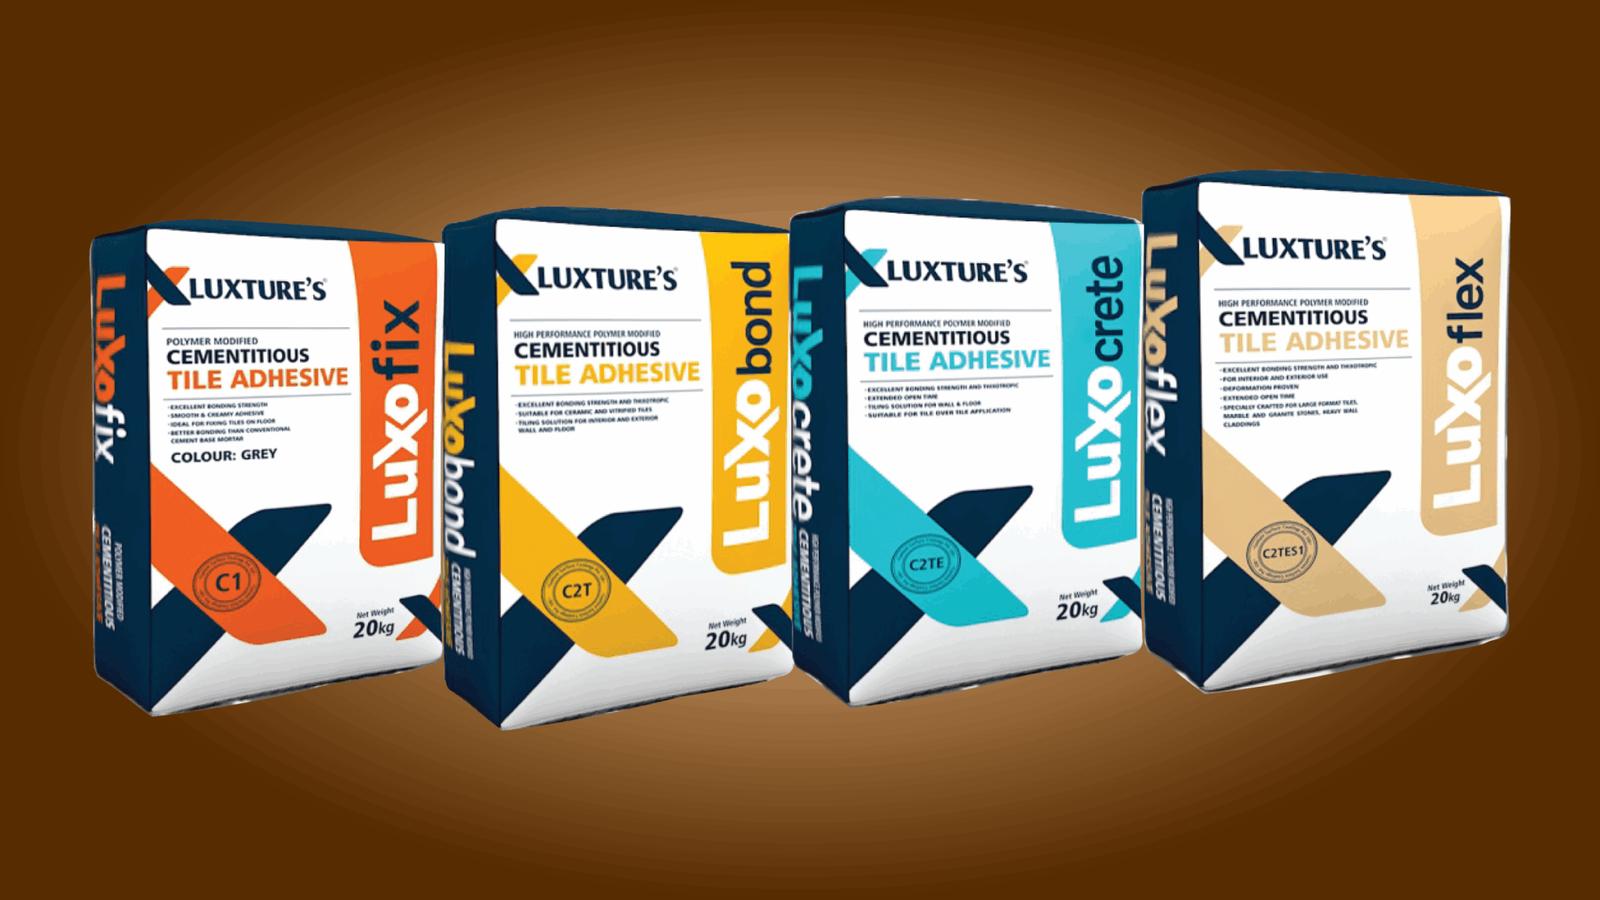
Tile Adhesive &
Tile Grout Step by Step Guide
Tiles are the most important aspect of modern interior design, adding beauty, durability, and sophistication to walls and floors, but getting that look isn’t only about the tile itself, it also about what adhesive and grout will enhance your look
Luxture Tile Adhesive & Tile Grout are engineered to provide superior bond strength, flexibility, and a smooth finish to keep your tile looking great.
In this guide, we will introduce you to how to professionally apply the Luxture Tile Adhesive & Tile Grout for long-lasting, flawless walls and floors
Step-by-Step Instructions on Using Luxture Tile Adhesive
Step 1: Preparing the Surface
Make sure the surface of the wall or floor is free of moisture and levels.
Remove all dust, grease and loose material.
Lightly moist rock hard surfaces just prior to applying adhesive.
Step 2: Mixing the Adhesive
Put clean water in a mixing bucket.
While stirring, gradually add Luxture Tile Adhesive to the bucket.
You can use an electric mixer to ensure a smooth, lump free consistency.
Allow the mixture to set for 5 minutes then re-mix.
Step 3: Applying the Adhesive
With a notched trowel, spread adhesive evenly on the surface.
Cover small areas (up to 1m² per loss) to avoid drying out before tiling.
A flat bed of adhesive makes for better adhesion with the tile.
Step Four: Set the Tiles
Gently push the tiles down into the adhesive.
Use spacers to insure consistent gaps.
Ensure the tiles are seated properly by tapping them down gently with a rubber mallet.
Step Five: Allow the Tiles to Set
Give the tiles at least 24 hours of setting time before grouting.
Be sure not to move into or walk on your newly tiled area while it is setting.
Step-By-Step Instruction for Applying Luxture Tile Grout
Step One: Mix the Grout
In a clean bucket or container, measure the recommended amount of Luxture Tile Grout to water.
Now mix your Luxture Tile Grout with water until it reaches a nice creamy paste.
Step Two: Apply the Grout
Grab your rubber float and apply a diagonal application of the grout across the joints of the tiles. Be sure every gap is filled.
Step Three: Clean the Surface
After about 15–20 minutes, take a damp sponge and wipe off any excess grout on the surface of the tile.
Rinse out the sponge often to avoid any haze from developing on the tiles.
Step Four: Adding the Finishing Touch
After the product fully dries, take a dry cloth and buff the surface to shine it up.
If desired, if you have excess moisture, you can seal the joints as added protection against moisture.
Tips for a Professional Finish
Use Quality Tools – A good trowel, level, and spacers will make all the difference.
Don’t Overmix – Mix only as much adhesive and grout as you can use right away.
Temperature is Important – Use moderate working conditions for best results.
Clean often – Always clean away adhesive before it hardens.
Right Luxture Products – Use the correct adhesive and grout to coordinate with the tile size and type of surface.
🧰 Tools to Have:
Mixing bucket
Electric drill with paddle
Notched trowel
Tile spacers
Rubber float
Sponge and cloth
Measure scale
Conclusion
Using Luxture Tile Adhesive & Tile Grout, with this guide and a bit of imagination, you can transform boring surfaces into beautiful, high-fashion tiled surfaces. For your own home renovation project, or a professional project, Luxture products deliver the strength, beauty and performance you expect.
✨ Create network on your walls and floors with Luxture!
Good looks are important. But what about quality and trust? 👀
When choosing marble texture coatings, don’t just look at the finish. Look at what’s behind it.
At Luxture, quality comes with accountability — backed by an ISO 9001:2015 certified quality management system, in-house laboratory testing, and products that conform to applicable BIS & ASTM standards. ✅
Because your walls deserve more than just a beautiful finish. They deserve a brand you can trust. 🤝
**From LuxFoam to a stone-inspired masterpiece. 🏛️✨**
Watch the transformation of a custom **Egyptian Pharaoh wall mural**, crafted using LuxFoam by Luxture and finished with Luxture Stone Finish to achieve a realistic stone-like appearance.
From precision cutting and detailed craftsmanship to wall installation and the final surface finish, every step brings this unique design to life.
✨ Custom-crafted with LuxFoam 🎨 Finished with Luxture Stone Finish 🏛️ Designed to create a striking architectural statement
**One creative vision. Two Luxture solutions. An extraordinary result.**
Have a custom architectural design in mind? Let’s bring it to life with Luxture.
Think LuxFoam is only about decoration? There’s much more to it.
From architectural mouldings and insulated facades to roof insulation, retrofitting and landscaping, LuxFoam offers versatile solutions for both design and building performance.
**More than aesthetics. Designed for smarter building solutions.**
Planning your next project? Connect with Luxture to explore the possibilities.
From precision cutting to a stunning architectural transformation. 🏛️✨
Every detail matters when it comes to creating a beautiful facade.
Watch the complete journey of LuxFoam Cornices by Luxture — from cutting and shaping to on-site application and the final building transformation.
Lightweight, highly customisable and designed to bring architectural details to life, LuxFoam helps turn design concepts into striking real-world results.
It`s not just about adding details. It`s about transforming the entire look of a building.
📩 Planning a facade upgrade or a custom architectural design? Connect with Luxture.
All Luxture catalogues and shade cards: texture paints, stone finishes, Italian finishes, claddings, Decorcem and more. Share your details and the download opens instantly.
Paid
Paid Spec Box
Real physical samples of the finishes you choose, delivered to your studio or site, so you can see the texture, colour and sheen in your own light before you specify. Our team confirms the price and dispatch details after your request.